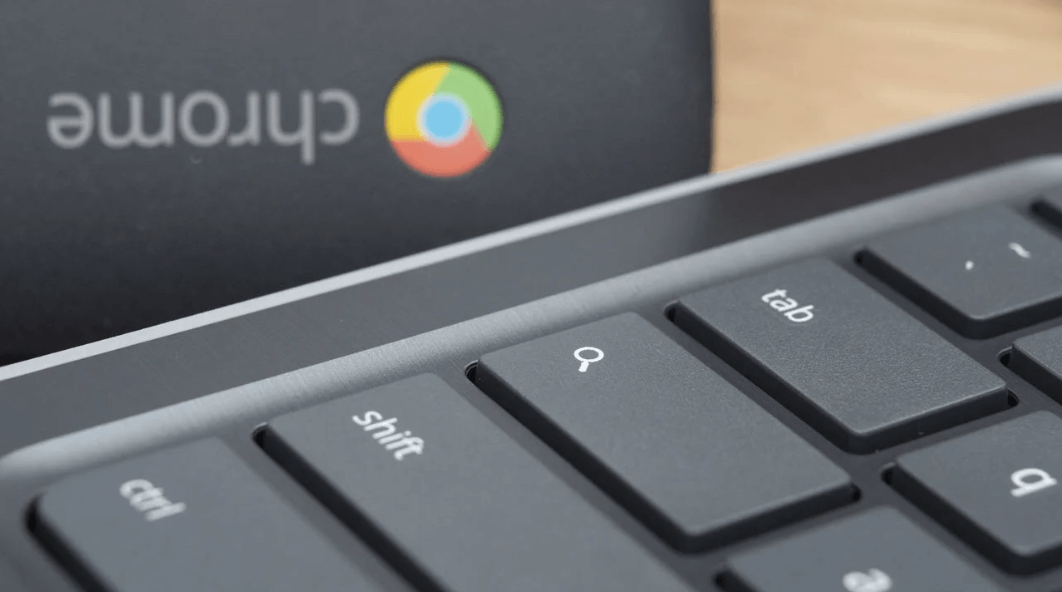
In the world of computers, we've come a long way from just using keyboards and mice, and now Chromebooks come with big touchscreens, adding a new layer of convenience. But there are moments when the touch screen can get in the way, like when you're on a cramped plane or accidentally tapping while typing. That's where knowing how to turn off the touch screen on your Chromebook comes in handy.
GreenTek Solutions is always glad to help! Today, we will guide you through the complete process of disabling and re-enabling the touch screen on your Chromebook.
How to Disable the Touch Screen
- 1.Power on your Chromebook and sign into your account.
- 2.Press the combination of Ctrl + Alt + T keys to open the Crosh terminal.
- 3.Type shell in the terminal and press Enter to activate the shell command line.
- 4.Enter the command xinput and then press Enter. A list of input devices connected to your Chromebook will appear.
- 5.From the list, find the ID number of the touch screen device (it should be next to "Atmel maXTouch Digitizer" or something similar).
- 6.Type the following command to disable the touch screen, replacing "ID" with the device's ID number: xinput --disable ID
- 7.Press Enter.
Congratulations! You've successfully disabled the touch screen on your Chromebook.
How to Re-Enable the Touch Screen
- 1.Repeat steps 1 to 4 from the disabling process.
- 2.Type the following command, replacing "ID" with the device's ID number: xinput --enable ID.
- 3.Press Enter.
All done! Your touch screen should immediately spring back to life.

